Skip to content
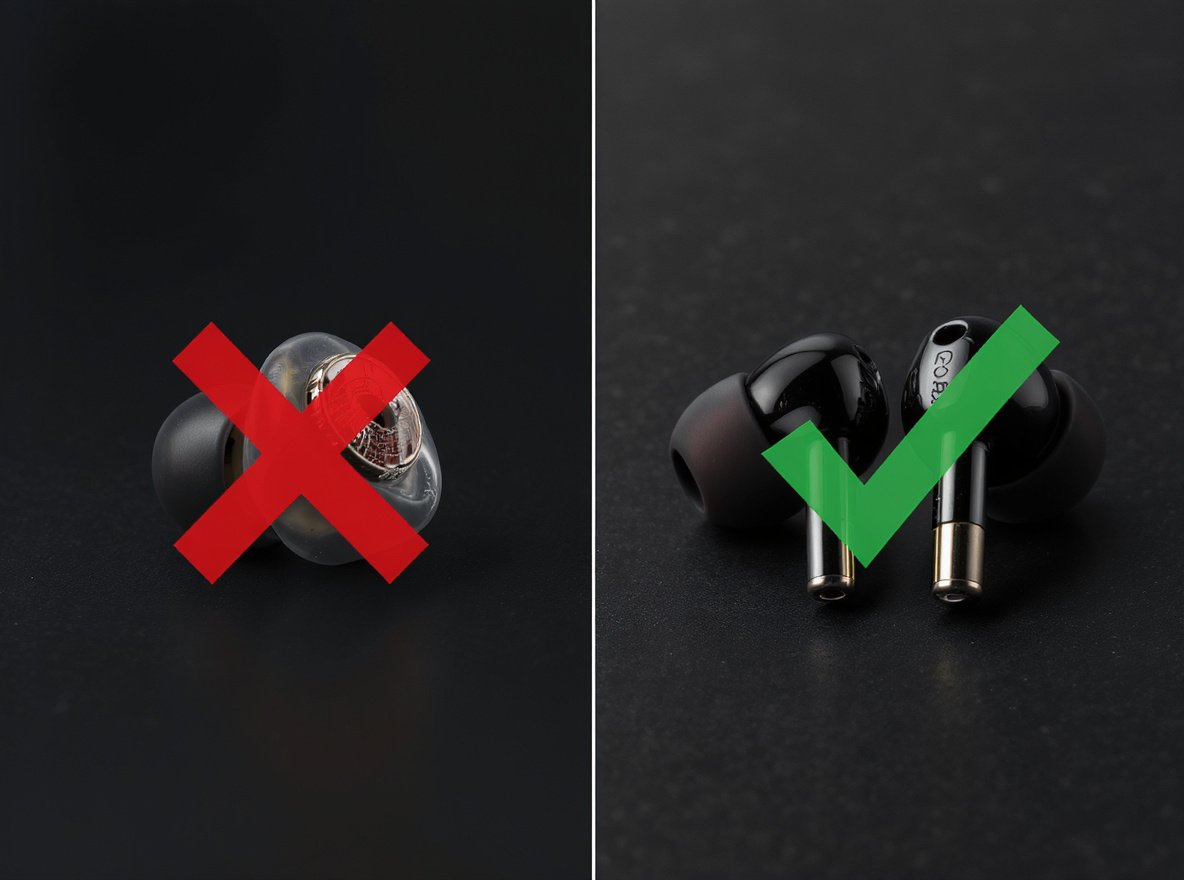
Experiencing one-sided audio from your earbuds is frustrating, but often fixable with the right approach. Whether you’re streaming music, taking calls, or watching videos, losing sound from one earbud disrupts your entire listening experience. The good news? Most single-earbud problems stem from easily addressable issues rather than permanent hardware failure.
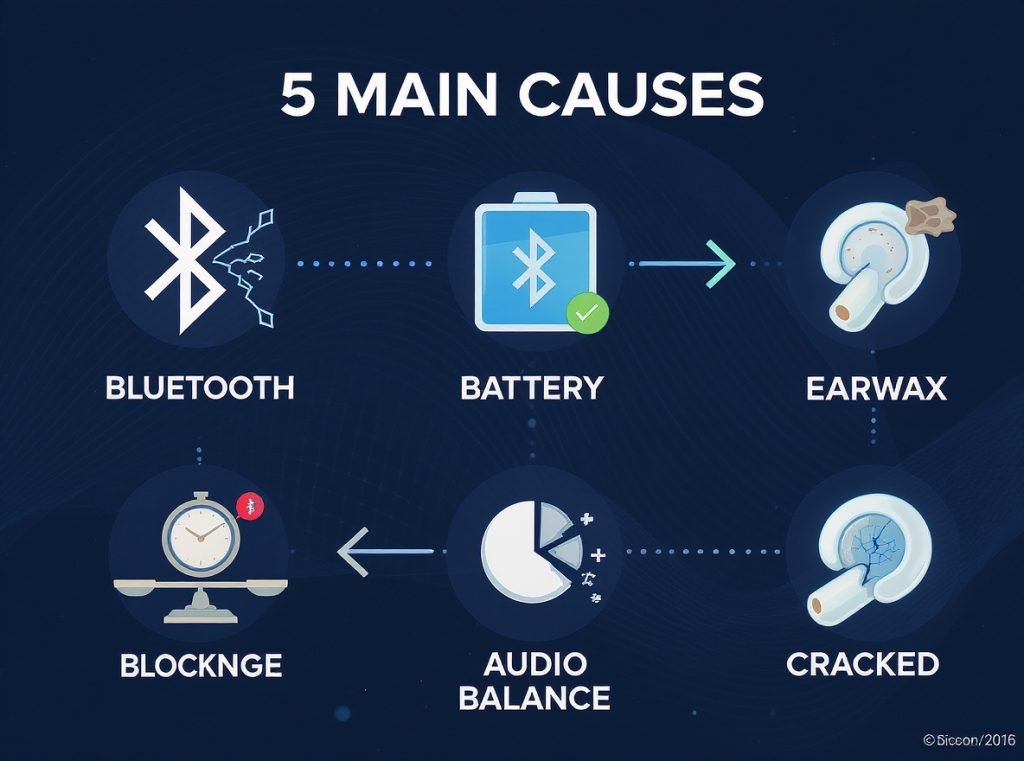
The most common causes of one-sided earbud failure include Bluetooth connection problems, battery imbalances, earwax buildup that can reduce volume by 30-50%, audio balance settings shifted to one side, and physical damage to internal components. These issues typically resolve through systematic troubleshooting steps that restore full stereo functionality without requiring expensive repairs or replacement.
Before investing in new earbuds, let’s explore the proven solutions that resolve approximately 60-70% of one-sided audio problems through simple fixes.
What Are the Most Common Causes of One-Sided Earbud Failure?
Understanding the root causes helps you choose the most effective troubleshooting approach for your specific situation.
Bluetooth connection issues, battery imbalances, debris accumulation, audio balance settings, and physical damage represent the primary causes of single-earbud failures. Each problem requires different diagnostic and repair techniques to restore proper stereo audio output.
Bluetooth Connection Problems
Bluetooth connectivity tops the list for wireless earbuds. One earbud typically connects to your device first, then pairs with its partner. If that secondary connection fails, you’ll only hear sound from one side. This master-slave relationship means connection interruptions often affect just one earbud.
Battery-Related Issues
Battery imbalances frequently cause single-earbud failures. If one earbud has significantly lower battery than its partner, it may shut down while the other continues playing. This commonly occurs when users frequently use only one earbud, creating uneven charge cycles between the pair.
Debris and Blockage Problems
Even small amounts of earwax can reduce volume by 30-50% and create the illusion that one side isn’t working. Complete blockages prevent any sound output, making this one of the most common but easily fixable issues.
| Issue Type | Prevalence | Difficulty Level | Typical Fix Time |
|---|---|---|---|
| Bluetooth connectivity | 40% | Easy | 2-5 minutes |
| Battery problems | 25% | Easy to Moderate | 5-30 minutes |
| Debris blockage | 20% | Easy | 3-10 minutes |
| Audio balance settings | 10% | Very Easy | 1 minute |
| Physical damage | 5% | Difficult to Impossible | Varies |
How Do I Fix Bluetooth Connection Problems?
Bluetooth issues cause most wireless earbud problems but respond well to systematic troubleshooting approaches.
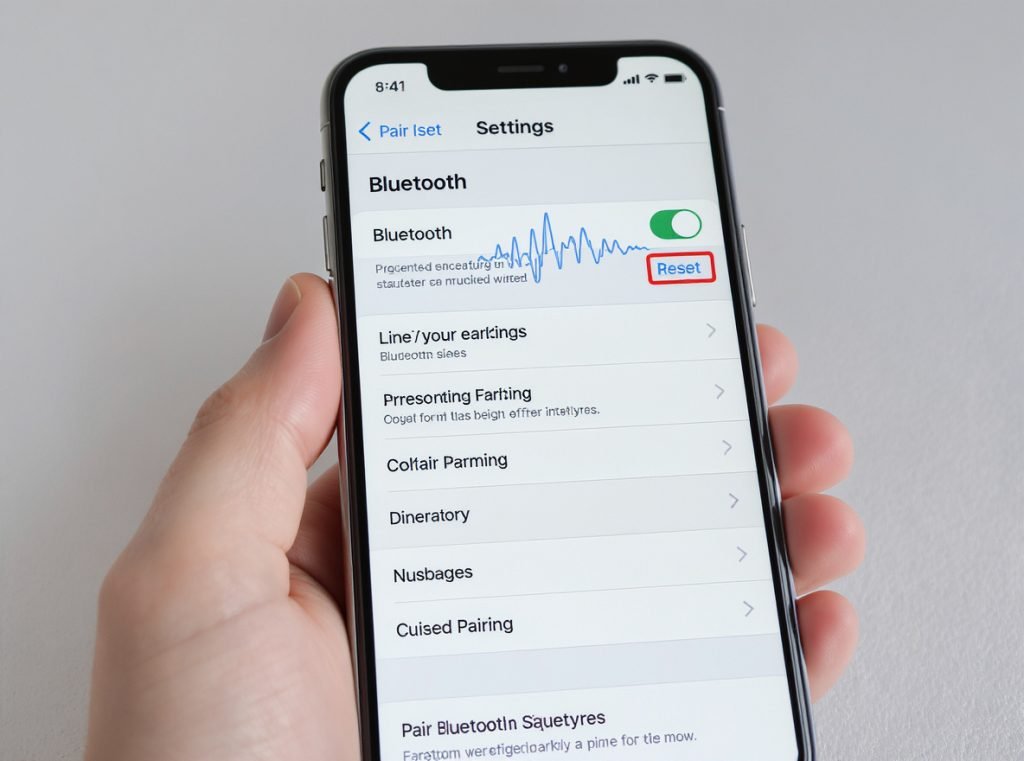
Reset your Bluetooth connection by turning off Bluetooth for 10 seconds, placing both earbuds in the charging case for 15 seconds, then removing them and re-pairing from scratch. This clears connection conflicts and ensures both earbuds connect properly as a matched pair.
Complete Connection Reset Process
Start with a full Bluetooth reset using this proven sequence:
- Turn off Bluetooth on your device and wait 10 seconds
- Place both earbuds in their charging case for 15 seconds
- Remove earbuds and turn Bluetooth back on
- Re-pair the earbuds as a completely new device
Clear Bluetooth Cache (Android)
Android users should clear Bluetooth cache to eliminate stored connection conflicts:
- Go to Settings > Apps > Show System Apps
- Find “Bluetooth” and tap it
- Select Storage, then clear cache and data
- Restart your device and reconnect the earbuds
Address Interference Issues
Move away from other Bluetooth devices, Wi-Fi routers, or microwaves that operate on the 2.4GHz frequency. These devices can disrupt connections and cause one earbud to disconnect while the other remains stable.
Update both your earbuds’ firmware and your device’s operating system, as newer earbud models are only compatible with updated software versions.
For businesses seeking reliable Bluetooth earbuds with stable connectivity for wholesale distribution, Osmarto offers professionally tested wireless models designed to minimize connection issues. Our technical team can provide specifications on models with proven multi-device compatibility and stable pairing performance.
Why Is My Audio Balance Off and How Do I Adjust It?
Audio balance settings control sound distribution between left and right channels, and these settings can accidentally shift to favor one side.
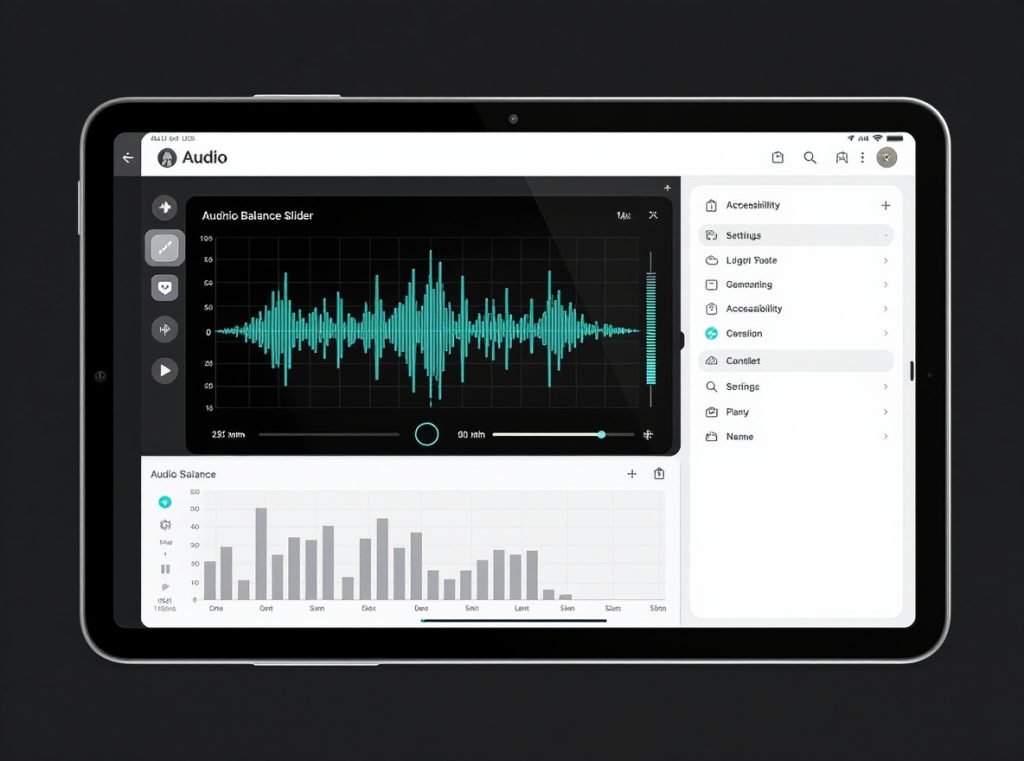
Check your device’s audio balance settings in accessibility or sound options. The balance slider should be centered to ensure equal volume distribution between both earbuds. This setting affects all headphones connected to your device.
Device-Specific Balance Adjustments
iPhone/iPad Users:
- Go to Settings > Accessibility > Audio & Visual
- Find the Balance slider under Hearing
- Ensure the slider sits in the center position
- Adjust left (L) or right (R) as needed for equal output
Android Users:
- Open Settings > Accessibility > Audio
- Look for “Hearing enhancements” or “Audio Balance”
- Navigate to “Left/Right Sound Balance”
- Adjust the slider to center position
Windows PC:
- Go to Settings > System > Sound
- Select Device Properties under Output
- Find the Balance slider and center both L and R controls
- Test with known stereo audio content
Samsung Galaxy Buds:
- Open Galaxy Wearable app
- Navigate to Earbuds Settings > Accessibility
- Adjust the sound balance slider to center
- Apply changes and test immediately
Remember that balance adjustments affect all audio output from your device, so you may need to readjust when switching between different headphones or speakers.
How Do I Clean My Earbuds to Remove Blockages?
Debris and earwax accumulation can block earbud speakers, causing reduced volume or complete audio loss in one side.
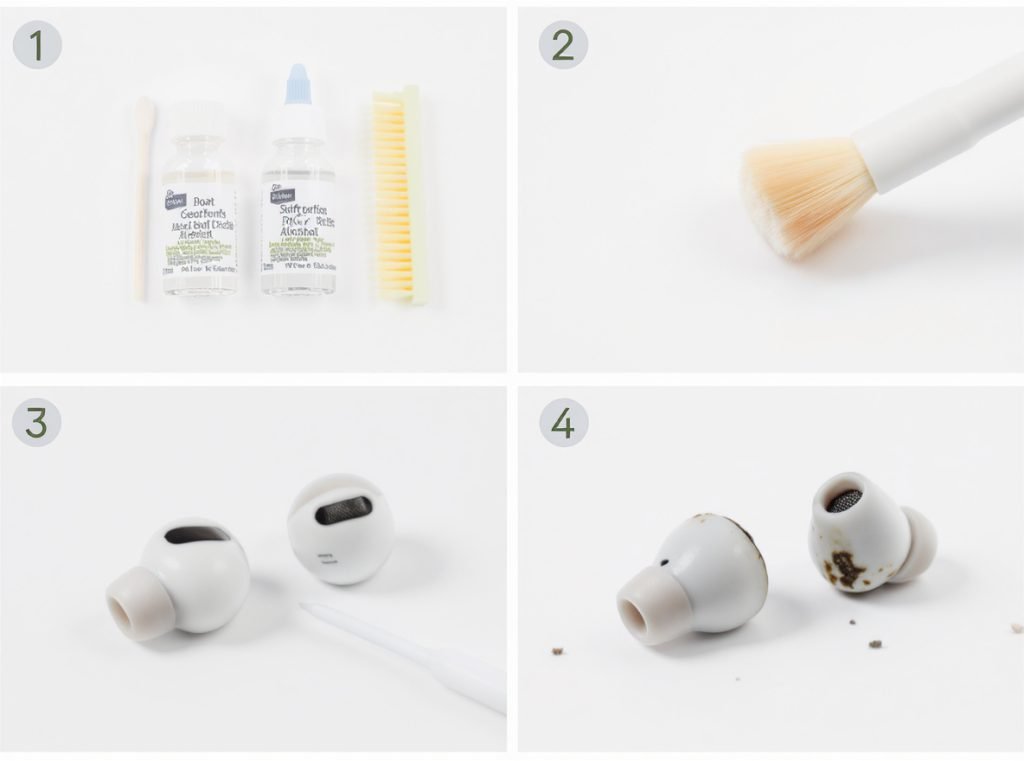
Clean your earbuds using 70% isopropyl alcohol on cotton swabs for electronic components, and warm soapy water for silicone ear tips. Regular monthly cleaning with alcohol prevents most blockage issues and maintains optimal sound quality.
Safe Cleaning Techniques for Different Components
Silicone/Rubber Ear Tips:
- Remove tips from earbuds completely
- Soak in warm, soapy water for 30 minutes
- Scrub gently with soft-bristled toothbrush
- Rinse thoroughly and air dry completely before reattaching
Mesh Screens and Drivers:
- Use soft-bristled toothbrush to gently loosen visible debris
- Apply 70% isopropyl alcohol to cotton swab (never water directly)
- Gently clean mesh surface without pushing debris deeper
- Allow alcohol to evaporate completely before use
Stubborn Earwax Removal:
- Apply 3% hydrogen peroxide to mesh surface using cotton swab
- Let sit for 5 minutes to soften hardened wax deposits
- Gently scrub with soft brush dipped in hydrogen peroxide
- Shake out excess liquid and loosened debris
Advanced Cleaning Tools
Silicone cleaning putty effectively pulls trapped debris from crevices without damaging delicate components. Compressed air removes dust from tight spaces, but use short bursts to avoid driving debris deeper into the earbud housing.
Even 0.5mm of debris can disrupt charging efficiency by 30-50%, so maintain clean charging contacts on both earbuds and case using alcohol-dampened swabs.
What Should I Do If It’s a Battery or Charging Issue?
Battery problems frequently cause one earbud to stop working while the other continues normally, especially in wireless models.
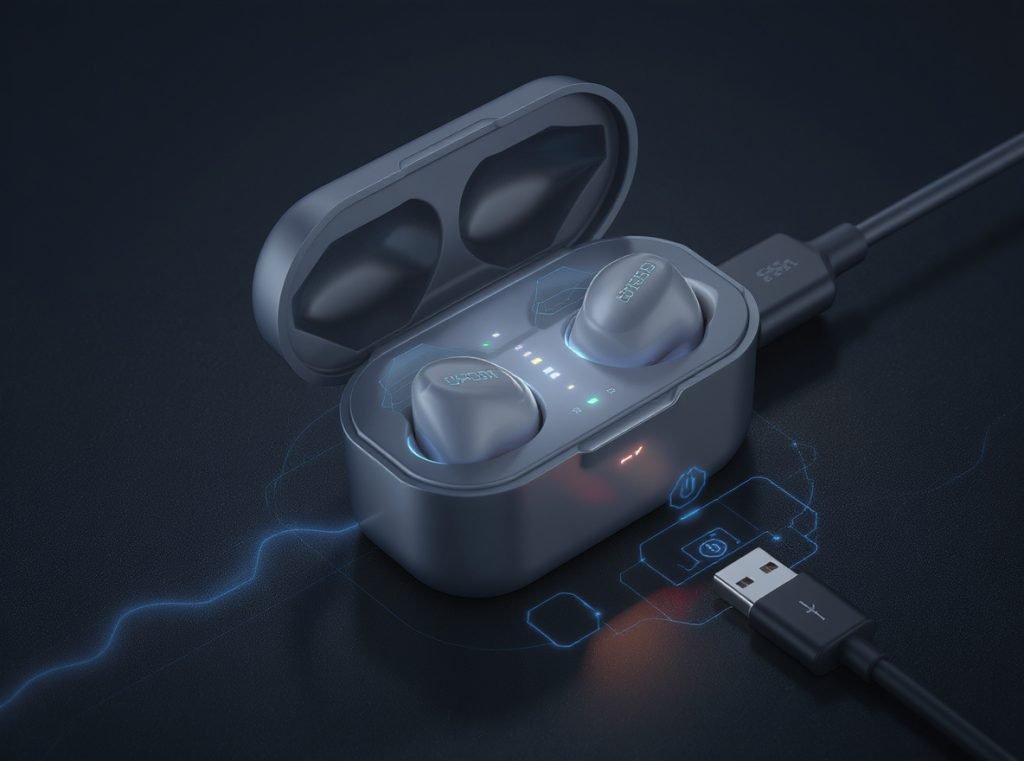
Ensure both earbuds charge properly by cleaning charging contacts with 70% isopropyl alcohol and verifying the charging case has sufficient power. Dead charging cases cannot power earbuds, and dirty contacts can reduce charging efficiency by 30-50%.
Systematic Battery Troubleshooting
Check that your charging case shows LED indicators for adequate battery levels. A completely dead case cannot charge the earbuds, creating the false impression of earbud battery failure.
Clean all charging contacts thoroughly using these steps:
- Apply 70% isopropyl alcohol to cotton swab
- Gently clean charging points on both earbuds and inside case
- Remove any visible debris, corrosion, or buildup from contact pins
- Ensure contacts are completely dry before testing
Reset Charging Cycle
When battery readings appear inaccurate, reset the charging cycle:
- Fully drain both earbuds and charging case
- Charge case and earbuds together for several hours
- This recalibrates internal battery monitoring systems
- Test individual earbud battery performance
Try different charging cables to rule out cable failure, as faulty USB-C or Lightning cables can prevent proper charging despite appearing connected.
Battery Degradation Indicators
Replace batteries or earbuds when you notice significantly reduced battery life compared to original performance, charging case not holding charge despite proper connections, or one earbud consistently dying faster than its partner.
For retailers seeking earbuds with extended battery performance, Osmarto’s wholesale catalog includes models with optimized charging systems and battery longevity testing. Contact our team for specifications on models designed for consistent charging performance across thousands of cycles.
How Can I Tell If My Earbuds Have Physical Damage?
Physical damage might not always be visible, but certain performance indicators reveal hardware problems requiring professional attention or replacement.
Look for declining sound quality with distortion, unresponsive touch controls, frequent disconnections despite proper range, condensation inside transparent components, or one earbud consistently quieter than its partner. These symptoms indicate internal component damage requiring repair or replacement.
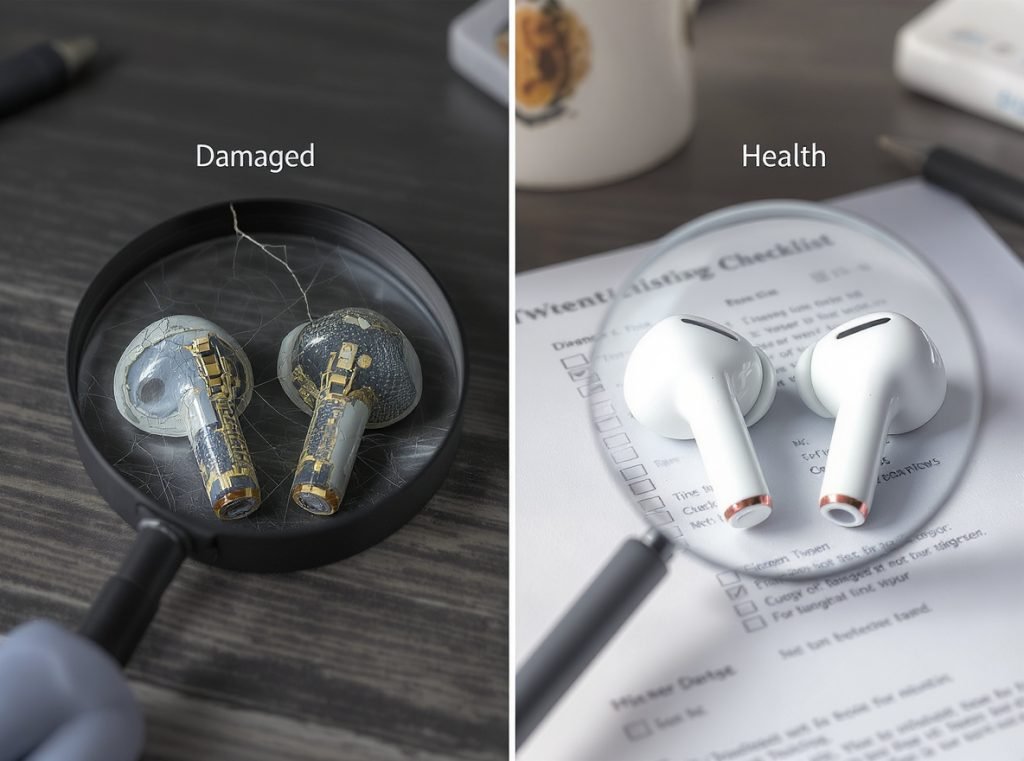
Visual Damage Assessment
Examine your earbuds systematically for these physical indicators:
- Cracks in the housing or charging case that compromise internal sealing
- Loose components or rattling sounds when gently shaken
- Damaged ear tips that don’t seal properly against your ear
- Corroded charging contacts appearing green or white from moisture exposure
- Bent connector pins on wired models
Performance-Based Damage Testing
Test functionality across multiple scenarios to identify hardware degradation:
Audio Quality Tests:
- Play bass-heavy tracks, as damaged drivers often distort low frequencies first
- Listen for crackling, static, or intermittent sound cutting out
- Compare volume levels between earbuds using known stereo content
Connection Reliability:
- Monitor for frequent disconnections within normal Bluetooth range
- Test responsiveness of touch controls and physical buttons
- Check if problems persist across multiple connected devices
Water Damage Signs:
- Condensation visible inside clear plastic components
- Intermittent functionality that worsens after moisture exposure
- Green or white corrosion on metal charging contacts
Use a multimeter to test 16-32Ω impedance on wired models if you suspect driver damage. Readings significantly outside this range indicate internal component failure.
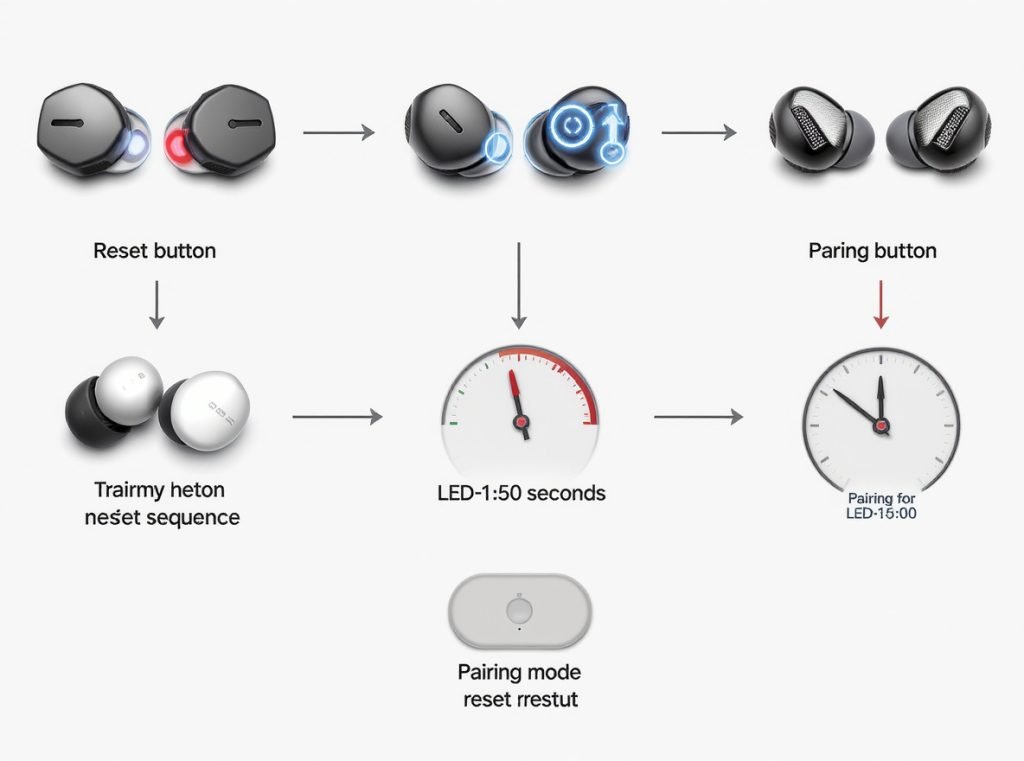
When Should I Reset My Earbuds to Factory Settings?
Factory resets resolve persistent software issues that basic troubleshooting cannot fix, returning all settings to default configurations.
Perform a factory reset when experiencing persistent connection problems, audio cutting out intermittently, unresponsive controls, earbuds stuck in pairing mode, or inaccurate battery readings. Always remove earbuds from your device’s Bluetooth settings before reconnecting after a reset.
Brand-Specific Reset Procedures
Apple AirPods:
- Place both AirPods in charging case and close lid
- Wait 30 seconds, then press and hold setup button on back of case
- Hold for 15 seconds until status light flashes amber then white
- Release button and reconnect to devices
Samsung Galaxy Buds:
- Place earbuds in case and close lid for 7 seconds
- Open Galaxy Wearable app on connected device
- Navigate to Earbud Settings > Reset
- Follow prompts to complete factory reset process
JBL True Wireless Models:
- Ensure both earbuds are powered on and initially connected
- Double-tap right earbud button to activate
- On third tap, hold button for 5+ seconds until they shut off
- This indicates successful reset completion
Universal Reset Method
For most wireless earbuds without specific instructions:
- Press and hold power button or designated reset button for 10-30 seconds
- Watch for flashing lights indicating reset completion
- Remove earbuds from all paired device lists
- Place in pairing mode and reconnect as new devices
Document which reset methods work for your specific model, as procedures vary significantly between manufacturers and even different product lines from the same brand.
Are There Any Quick Fixes I Can Try Right Now?
Several immediate solutions can restore functionality without complex diagnosis, resolving approximately 60-70% of one-sided earbud issues.
Check audio balance settings first, restart both earbuds and connected device, clean visible debris from speakers, ensure both earbuds are fully charged, and stay within 30-meter Bluetooth range. These simple steps identify whether problems are hardware or software related.
Immediate Emergency Fixes
Try this 10-second emergency reset that resolves many temporary glitches:
- Place both earbuds in charging case
- Close case and wait exactly 10 seconds
- Remove earbuds and test audio immediately
- This clears temporary connection conflicts
Quick Connection Troubleshooting
Perform rapid Bluetooth reconnection:
- Turn device Bluetooth off and on
- Remove earbuds from case while Bluetooth is disabled
- Turn Bluetooth back on and allow automatic reconnection
- Test stereo audio within 30 seconds
Cross-Device Testing
Test your earbuds with another phone, tablet, or computer to determine if the issue follows the earbuds or stays with one specific device. This immediately identifies whether you need to troubleshoot hardware or device-specific software settings.
| Quick Fix Method | Success Rate | Time Required | Best For |
|---|---|---|---|
| Audio balance check | 85% | 1 minute | Software issues |
| Device restart | 70% | 2 minutes | Connection glitches |
| Emergency reset | 65% | 30 seconds | Temporary conflicts |
| Cross-device test | 90% diagnostic accuracy | 3 minutes | Problem isolation |
Clean visible debris from ear tips and speaker mesh using a dry cloth, ensuring no moisture enters electronic components during quick cleaning attempts.
What If None of These Solutions Work?
When basic troubleshooting fails, consider warranty options, professional repair, or strategic replacement based on your earbuds’ age and condition.
Contact manufacturers for warranty service on earbuds less than 1-2 years old, as most quality earbuds should last 2+ years with proper use. For expensive models, professional battery replacement or driver repair might be cost-effective compared to full replacement.
Warranty and Repair Considerations
Most wireless earbuds include 1-2 year warranties covering manufacturing defects but not physical damage, water exposure, or normal battery degradation. Document your troubleshooting attempts before contacting support, as manufacturers appreciate knowing what solutions you’ve already attempted.
Professional repair services can replace batteries or drivers in premium models, but repair costs exceeding 50% of replacement price usually favor buying new earbuds.
Replacement Decision Factors
Consider replacement when earbuds are 2+ years old and showing multiple issues, battery life has declined significantly from original performance, multiple troubleshooting attempts have failed, or physical damage is visible.
Prevention Strategies for Future Earbuds
- Store in protective case when not in use to prevent physical damage
- Clean monthly with alcohol to prevent debris buildup
- Avoid extreme temperatures and moisture exposure
- Charge regularly but avoid overcharging with smart charging habits
- Update firmware promptly when manufacturers release improvements
Most wireless earbuds have 2-3 year practical lifespans due to battery degradation and component wear. If you’ve owned your current pair for over 18 months and multiple issues persist, replacement often proves more economical than extensive troubleshooting efforts.
Summary
Single-earbud failures frustrate users but most issues resolve through systematic troubleshooting. Start with audio balance checks and Bluetooth resets for software problems, then progress to cleaning and charging diagnostics for hardware issues. Regular maintenance and proper handling prevent most problems before they occur.
Understanding these proven troubleshooting techniques can extend your earbuds’ lifespan and save money on premature replacements.
Looking for professional-grade earbuds that minimize common connectivity and durability issues? Osmarto specializes in wholesale audio solutions with rigorous quality testing and reliable performance standards. Contact us today to discuss bulk pricing, technical specifications, and models designed to reduce customer service issues for your business. Send your inquiry to discover how our tested audio products can enhance your product portfolio and customer satisfaction.