Skip to content
Your expensive headphones and earbuds accumulate earwax, bacteria, and debris daily. Without proper cleaning, you’re risking ear infections, muffled sound quality, and premature equipment failure—ultimately wasting your investment in quality audio equipment.
Proper headphone cleaning requires microfiber cloths, cotton swabs, 70% isopropyl alcohol, and mild dish soap. Clean daily users weekly, gym users after each workout, and occasional users monthly to maintain sound quality and prevent health issues.
Let’s explore the complete cleaning process that will keep your audio equipment performing at its best while protecting your health.
What Essential Cleaning Supplies Do I Need?
Many people think they need expensive specialized products to clean their audio equipment properly. This misconception leads to either avoiding maintenance altogether or purchasing unnecessary items that may damage delicate components.
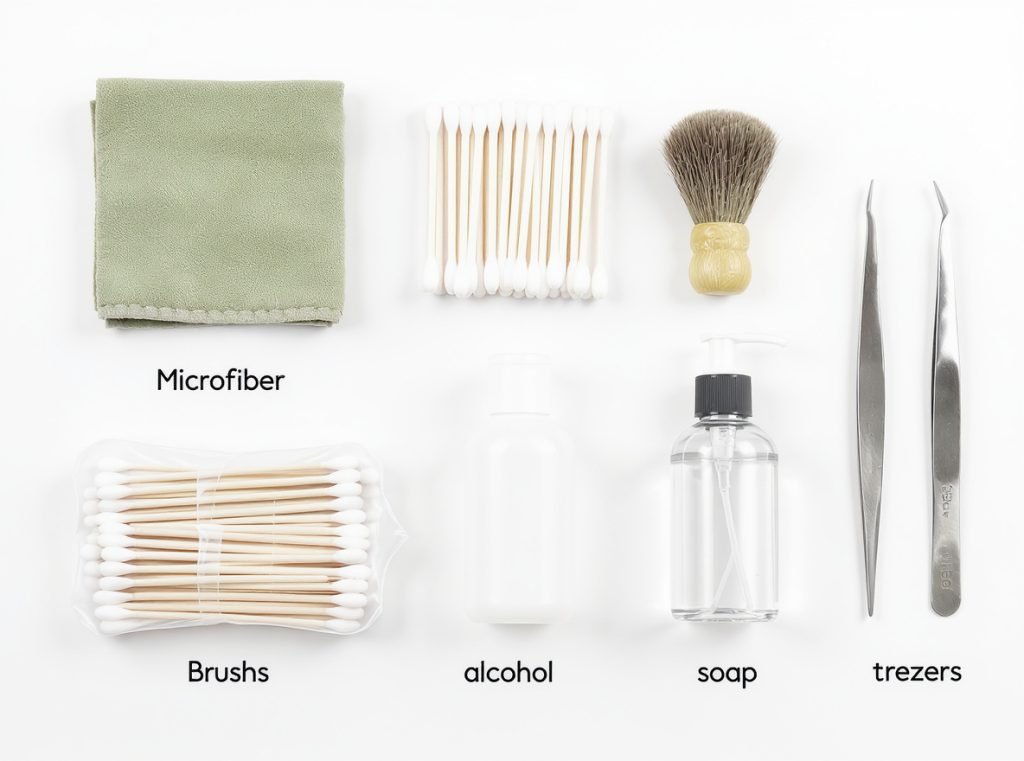
You need basic household items: microfiber cloths, cotton swabs, soft-bristled toothbrush, 70% isopropyl alcohol, mild dish soap, warm water, and optionally compressed air and silicone cleaning putty for stubborn debris.
The right supplies make all the difference in effective cleaning without causing damage. Microfiber cloths won’t scratch surfaces, while cotton swabs reach tight crevices safely.
Essential cleaning kit components:
• Microfiber or lint-free cloth – prevents scratching during surface cleaning
• Cotton swabs (Q-tips) – ideal for cleaning small areas and mesh openings
• Soft-bristled brush or clean toothbrush – removes debris from textured surfaces
• 70% isopropyl alcohol – provides disinfection without being too harsh
• Mild dish soap – safe for cleaning removable silicone components
• Tweezers or non-metallic toothpicks – helps remove stubborn debris safely
| Supply Type | Primary Use | Safety Level |
|---|---|---|
| Microfiber cloth | External surfaces, screens | Very High |
| Cotton swabs | Speaker mesh, tight spaces | High |
| Isopropyl alcohol (70%) | Disinfecting, stubborn grime | Medium |
| Soft-bristled brush | Textured surfaces, mesh areas | High |
| Mild dish soap | Removable parts, deep cleaning | High |
Avoid harsh chemicals like bleach or hydrogen peroxide, which can damage delicate electronic components and void warranties. Professional manufacturers like Osmarto provide specific cleaning guidelines to maintain optimal performance and warranty coverage.
How Often Should I Clean My Headphones and Earbuds?
Most users only clean their headphones when they notice visible dirt, but this reactive approach allows harmful buildup that damages equipment and poses health risks.
Clean daily users weekly, gym users after every workout, occasional users monthly, and shared headphones after each user. Summer or high-sweat periods require increased cleaning frequency to prevent bacteria growth.
Regular cleaning prevents earwax accumulation, eliminates bacteria, and maintains optimal sound quality. The cleaning frequency depends entirely on your usage patterns and environment.
Usage-Based Cleaning Schedule:
• Daily users (4+ hours): Weekly deep cleaning with daily surface wipes
• Gym and workout users: Clean after every use or before/after each session
• Occasional users: Every two weeks to monthly maintenance
• Shared headphones: Clean after each user or maintain strict weekly routine
• High-sweat environments: Increase frequency during summer months
Regular maintenance is particularly crucial for preventing ear infections and maintaining clear audio output. Earwax and debris create physical barriers in speaker meshes that muffle high frequencies and reduce overall volume.
For businesses managing wholesale headphone inventories, implementing standardized cleaning schedules ensures customer satisfaction and extends product lifespan. Osmarto provides maintenance protocols for commercial audio equipment purchases.
What’s the Complete Process for Cleaning Over-Ear Headphones?
Over-ear headphones require systematic cleaning due to their larger surface area, multiple components, and areas that contact skin directly.
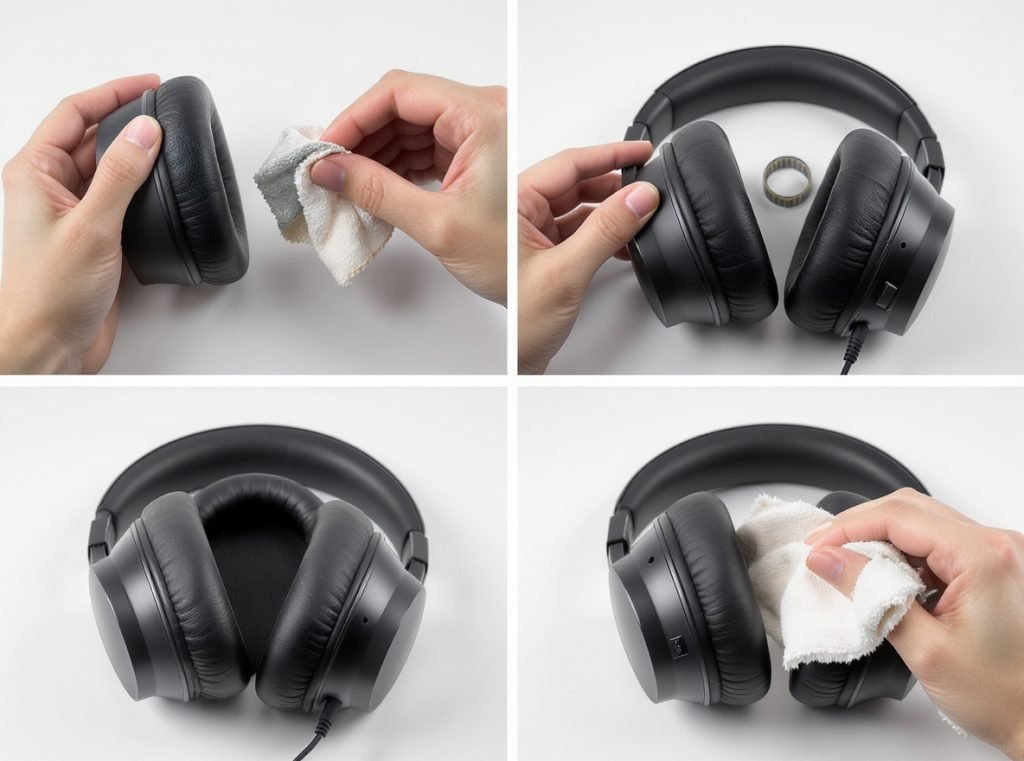
Turn off headphones, remove detachable cushions, clean exterior with mild soap solution, scrub ear cushions separately, clean mesh areas carefully, and allow complete drying before reassembly.
Professional cleaning starts with proper preparation and follows a logical sequence to avoid damage.
Step 1: Preparation and Disassembly
Turn off and unplug your headphones completely. Expand the headband fully to access all cleaning areas. Remove detachable ear cushions if your model allows this—check your manual for specific removal instructions.
Step 2: Exterior Cleaning
Mix one cup water with ¼ teaspoon mild dish soap for your cleaning solution. Use a soft cloth dampened (never soaked) with this solution to wipe down the headband, hinges, and ear cups. Pay special attention to adjustment mechanisms where oils accumulate.
Step 3: Cushion Maintenance
For removable cushions, clean separately with mild soap and water or isopropyl alcohol if material-safe. Gently scrub leather or fabric surfaces to remove sweat and oil buildup, then air dry completely before reattaching.
Step 4: Mesh and Driver Care
Hold headphones with speakers facing down during this critical step. Use a soft, dry brush to gently remove dust from mesh areas. Never press anything into the mesh that could damage internal speakers.
| Component | Cleaning Method | Drying Time |
|---|---|---|
| Ear cushions | Mild soap solution | 2-4 hours |
| Headband padding | Damp cloth wipe | 30 minutes |
| Mesh areas | Dry brush only | Immediate |
| Metal contacts | Alcohol swab | 5 minutes |
Allow all components to dry completely before reassembling to prevent moisture damage and bacterial growth.
How Do I Safely Clean Wireless Earbuds and AirPods?
Wireless earbuds present unique challenges due to electronic components, charging contacts, and small speaker meshes that easily clog with earwax and debris.
Remove ear tips, clean earbud surfaces with damp cloth, use dry cotton swabs on speaker mesh, disinfect with 70% isopropyl alcohol, wash silicone tips separately, and ensure complete drying before use.
The compact design of wireless earbuds requires gentle precision to avoid pushing debris deeper into sensitive areas.
Basic Wireless Earbud Process:
Remove ear tips and set earbuds in a safe location. Clean silicone tips by washing with warm soapy water for 5 minutes, rinse thoroughly, and air dry completely. Foam tips should only be wiped with a damp cloth—never soak them.
Clean earbud surfaces using a lint-free cloth dampened with water or mild soap solution. Focus on areas that contact your ears where oils and bacteria accumulate most heavily.
Critical Mesh Cleaning:
Use a soft toothbrush or cotton swab to gently remove earwax and debris from speaker mesh. Work in gentle circular motions, being extremely careful not to damage the delicate mesh or push material deeper into the driver.
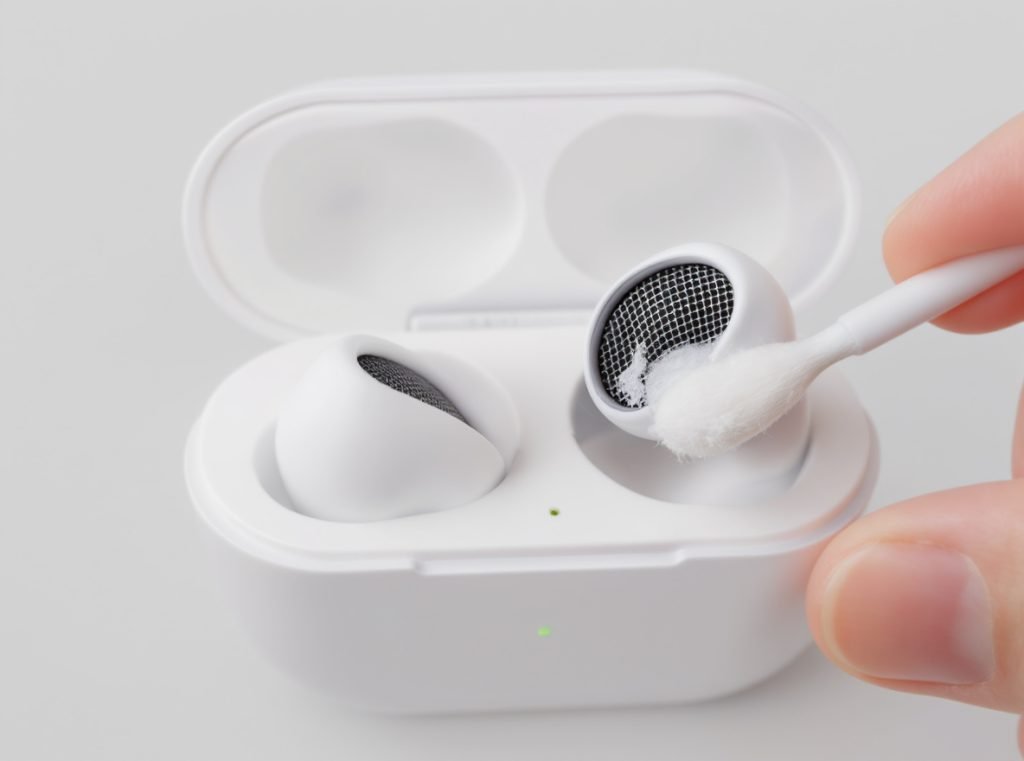
Special AirPods Considerations:
Clean the exterior with a soft, dry, lint-free cloth first. For stubborn dirt, slightly dampen the cloth with isopropyl alcohol. Clean speaker mesh with a completely dry cotton swab, never using liquid near these sensitive areas.
Never use water or allow liquid into any openings, as this can cause permanent damage to electronic components and void your warranty.
What About Professional In-Ear Monitors and High-End Earphones?
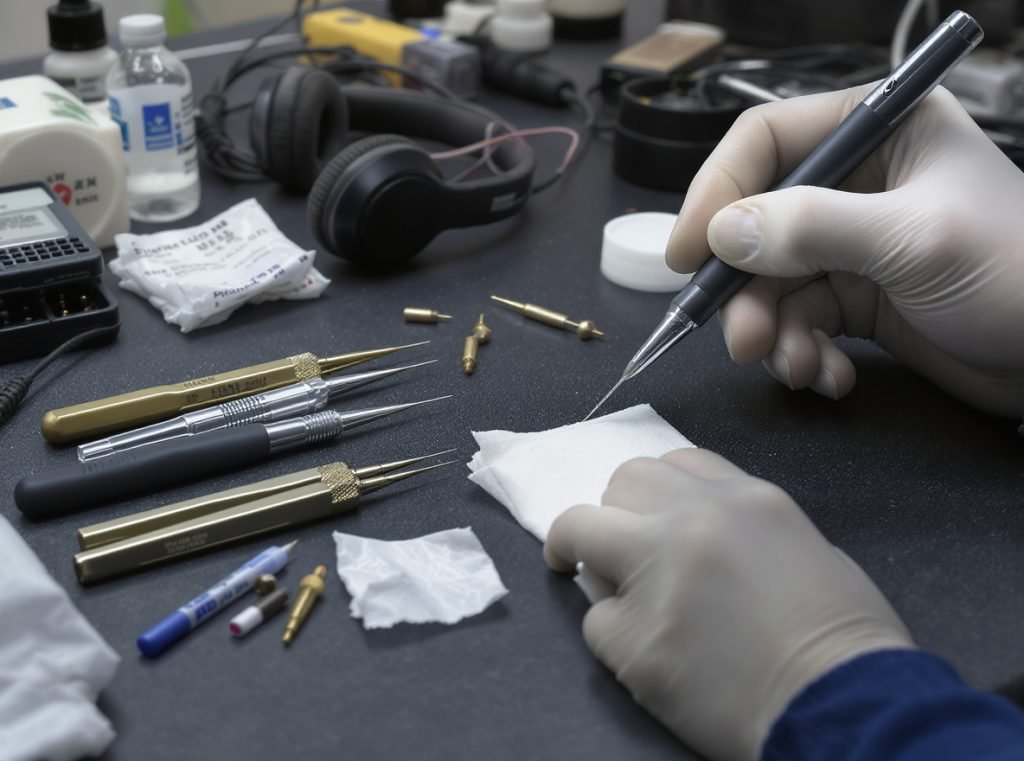
Professional in-ear monitors require specialized care due to their precision components, higher cost, and critical role in professional audio applications.
Professional IEMs need specialized cleaning stations with gloves, alcohol wipes, cleaning picks, micro-vacuum tools, and UV light inspection to maintain acoustic precision and protect significant equipment investments.
Professional audio equipment demands more rigorous maintenance protocols than consumer devices.
Professional Cleaning Station Setup:
Establish a dedicated cleaning area with protective gloves, paper towels, alcohol wipes, cotton swabs, specialized cleaning picks, and micro-vacuum equipment if available. Some professionals use UV lights to identify remaining wax buildup.
Systematic IEM Cleaning Process:
Start by disinfecting the shell with alcohol wipes, then remove dried wax using specialized cleaning picks designed for audio equipment. Clean nozzle openings extremely carefully to avoid pushing debris deeper into sound bores.
• Use cleaning picks and brushes for surface debris removal
• Apply micro-vacuum tools for deeper cleaning of stubborn buildup
• Perform final disinfection with alcohol before storage
• Monitor desiccant packets in storage cases to prevent moisture damage
Professional IEMs should be cleaned after each use, especially in touring, recording, or shared professional environments where hygiene and performance are critical.
For businesses investing in professional-grade audio equipment, partnering with manufacturers like Osmarto ensures access to detailed maintenance guidelines, replacement parts, and technical support for commercial applications.
How Do I Clean Charging Cases and Storage Accessories?
Many users focus exclusively on earbuds while neglecting charging cases, which can harbor bacteria and debris that immediately recontaminate freshly cleaned earbuds.
Remove earbuds, scrub case crevices with soft toothbrush, clean with alcohol-soaked cotton swabs, remove charging port debris with non-metallic tools, and ensure complete drying before closing.
Proper case maintenance prevents recontamination and ensures reliable charging performance.
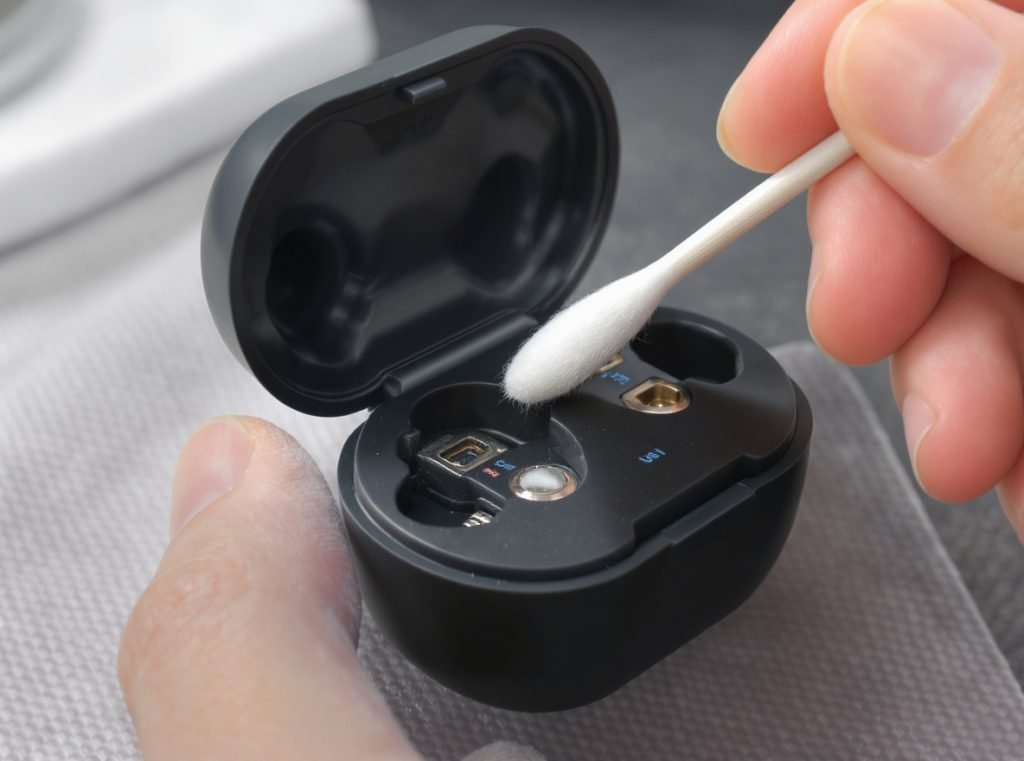
AirPods Case Cleaning Protocol:
Remove earbuds and set them aside safely. Use a soft toothbrush to scrub crevices where buildup commonly occurs. Soak cotton swabs in rubbing alcohol and clean lid edges and problem areas thoroughly.
Use the dry end of cotton swabs to push off dislodged material, then clean the charging port using a non-metallic toothpick to remove lint. Blow out remaining debris gently.
General Case Maintenance Best Practices:
• Clean charging contacts with dry cotton swabs to prevent corrosion
• Wipe exterior surfaces with soft cloth and mild cleaner
• Use adhesive cleaning putty for stubborn deposits if needed
• Ensure complete dryness before closing case to prevent moisture damage
Regular case cleaning maintains charging efficiency and prevents the transfer of bacteria back to clean earbuds.
What Critical Cleaning Mistakes Could Damage My Equipment?
Common cleaning errors can permanently damage expensive audio equipment, void warranties, and create safety hazards for users.
Never submerge electronic components, avoid harsh chemicals like bleach, don’t use metal tools on mesh areas, prevent moisture in charging ports, and always power off devices before cleaning.
Understanding what NOT to do is just as important as proper cleaning techniques.
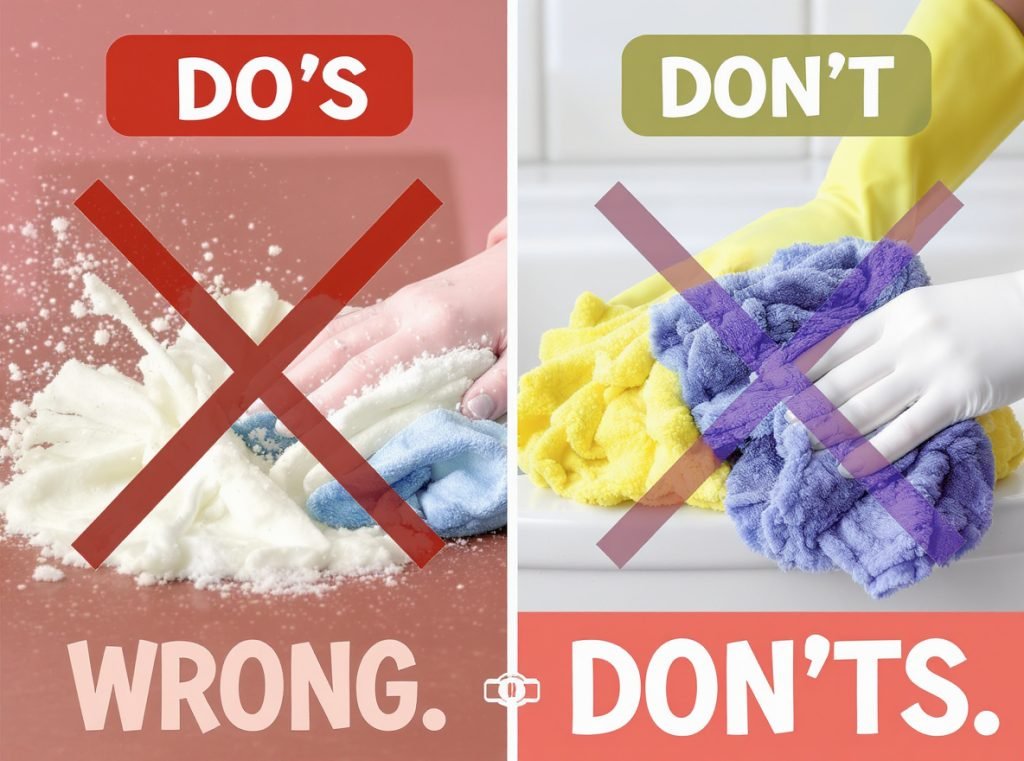
Dangerous Cleaning Practices to Avoid:
• Never soak or submerge any electronic components, including foam ear tips
• Don’t spray cleaner directly onto headphones—always spray the cleaning cloth instead
• Avoid harsh chemicals like bleach, hydrogen peroxide, or high-concentration alcohol
• Don’t use rough cloths or metal tools that can scratch surfaces or puncture delicate mesh
• Never use water on metal components as it causes discoloration and rust damage
Safe Cleaning Guidelines:
Always use damp (not wet) cloths with appropriate pressure. Clean gently and systematically, allowing complete drying before use. Use specialized electronics tools when needed rather than improvising with household items.
Pushing debris deeper into drivers or mesh openings is a common mistake that can permanently damage sound quality. Work from the outside inward, using gentle motions that lift debris away from sensitive components.
How Does Regular Cleaning Impact Sound Quality and Health?
Proper headphone maintenance provides significant benefits beyond simple cleanliness, affecting both audio performance and personal health outcomes.
Regular cleaning maintains acoustic clarity by preventing mesh blockage, reduces ear infection risk by eliminating bacteria buildup, extends equipment lifespan significantly, and preserves manufacturer warranties through proper care.
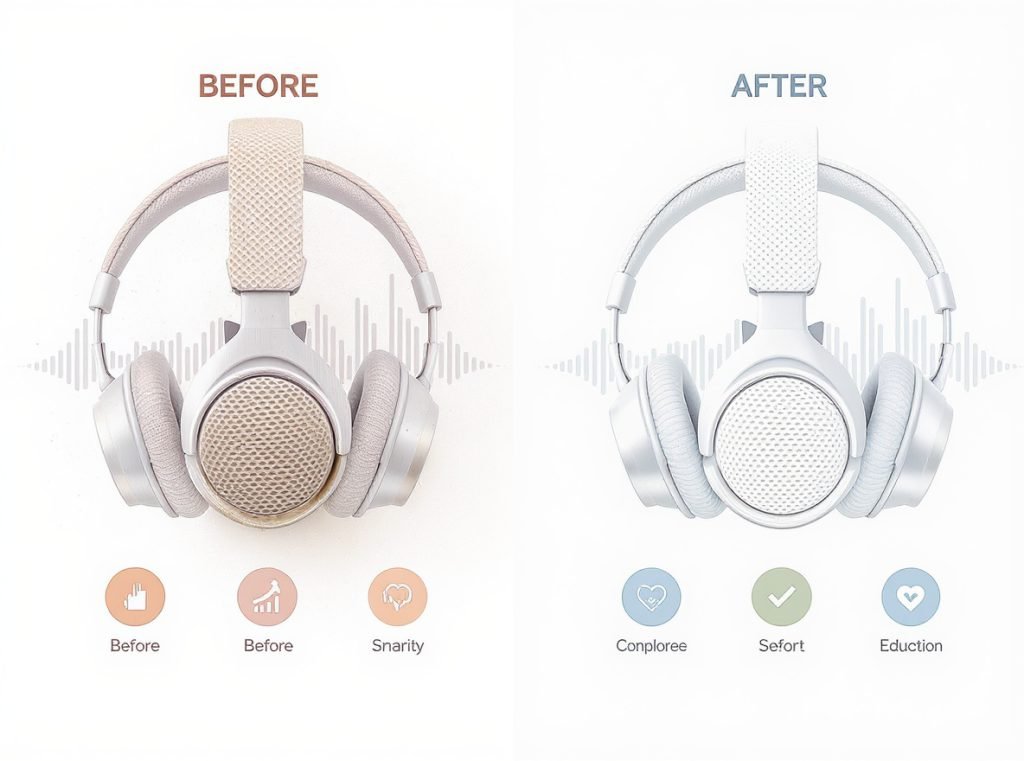
Sound Quality Improvements:
Clean headphones deliver noticeably better audio performance. Earwax and debris in speaker meshes create physical barriers that muffle high frequencies and reduce overall volume output. This degradation happens gradually, making it difficult to notice until significant buildup occurs.
Critical Health Benefits:
Regular cleaning prevents ear infections by removing harmful bacteria that thrive in warm, moist environments. Clean equipment reduces allergen exposure and prevents skin irritation, particularly important for users with sensitive skin or extended wear periods.
Performance and Productivity Enhancement:
• Enhanced focus: Clear audio reduces distractions during work or study sessions
• Improved communication: Better sound quality during calls and virtual meetings
• Increased comfort: Properly maintained equipment fits better and feels more comfortable
• Extended lifespan: Regular maintenance prevents component degradation and mechanical failures
Economic Benefits:
Well-maintained headphones last significantly longer than neglected equipment. For businesses purchasing wholesale quantities, proper maintenance protocols maximize return on investment while reducing replacement costs and customer complaints.
Summary
Proper headphone cleaning protects your investment and health through systematic maintenance using appropriate household supplies. Clean weekly for daily users, after workouts for gym users, and monthly for occasional users. Avoid harsh chemicals and never submerge electronic components. Regular maintenance preserves sound quality, prevents health issues, and extends equipment lifespan significantly.
Ready to invest in professional-grade headphones built for durability and easy maintenance? Contact Osmarto today for wholesale pricing on high-quality audio equipment designed for commercial use. Our experienced team provides comprehensive maintenance guidelines and technical support to maximize your audio equipment investment and ensure long-term customer satisfaction.